Unlike CAD tools, Revit elements are information rich and have behavioral patterns as if in a real construction site. For example, a Wall would understand that it must have a height that is connected to a particular level. It understands that it has a thickness, material and a function. All of this information can be given at the time of modeling in Revit or can later be changed once the information is available to you in the project. Windows and Doors, for example, can only be fixed in a wall and cannot be placed anywhere in the project. This is similar to a construction site.

Video Tutorial

Step by Step Guide

Practice Tutorial:

To further practice your skills in modeling walls, please use the Tutorial below. In this tutorial, you will learn,

  • To create a new wall type
  • Place a Wall in a Rectangular shape
  • Place a Wall in a Straight Line shape
  • Trim/Extend to Corner Tool
  • Change the Wall Type
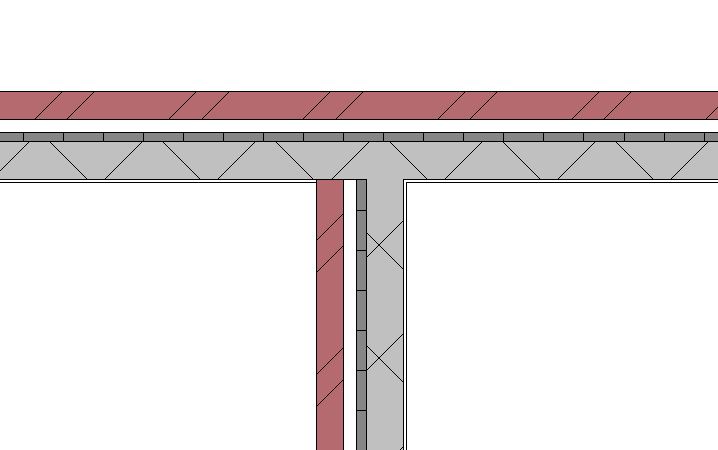
 after Modeling walls
  • Using Reference Planes as Construction Lines
  • Offset a Wall
  • Trim/Extend Single Element Tool
  • Using Dimensions to position the wall

PRACTICE TUTORIAL:Modeling Walls

Q&A

Have any Questions? or Suggestions? or Feedback? Please feel free to Contact Us, we will get back to you as soon as we can.

Modeling Walls

Compound Structures

System families, such as walls, floors, ceilings, and roofs, are compound structures. That means that they are comprised of a series of layers, with each layer defined by its function, material, and thickness. Some of the family types are simply defined by one layer.

Adding compound layers to the Wall

If you would like to add different layers in a wall type, such as finishes, plaster, cladding, air barrier or multiple core layers such as bricks, concrete, stone, etc; you can do this by editing the compound structure of the wall.

Each layer in the compound structure has a function which define how two compound structure elements would join with each other.

Compound wall layers can wrap at the ends or at openings. This is particularly useful where finishing layers need to be wrapped at the walls with end cap or at openings.

Modifying Vertical Structure of the Wall

Sometimes, walls not only have compounded layers in its thickness, but also vertically in their sections. Learn how to create vertically compound walls using this Video Tutorial – by Autodesk.

Compound walls
Image © Bansri Pandey

Layers

To create a compound wall with multiple layers,

Each layer in the compound structure has a function which define how two compound structure elements would join with each other.

Compound wall layers can wrap at the ends or at openings. This is particularly useful where finishing layers need to be wrapped at the walls with end cap or at openings.

Vertical Structure of the Wall

Sometimes, a project requires vertically compound walls that have multiple layers in a vertical section of the wall.

Vertically compound walls can host sweeps and reveals – which adds and cuts a profile on the wall respectively. This is useful when adding details such as parapet block,  cornice, molding or a cutout to the wall.

Go back to <<  Basic Revit Tools